Paper Pumpkin is a monthly craft subscription box. It’s a fully designed project kit that can be fun for any level crafter. Each kit includes stamps, ink, and paper – everything ready to go. They’ll surprise you with fun projects like cards, gift packaging, home décor, and more. For those who are just starting out, the project has step-by-step instructions on how to create the project just the way it is shown; but for those who want more of a creative experience, they have the opportunity to take the components and create their own unique project.
Cost: $19.95/month (US) | $26.95/month (Canada) – Shipping included
Promo Code: SAVEFIFTY0418 - Save 50% off your first two months! (Exp. May 10, 2018)
Check out our Paper Pumpkin reviews.
Info for new subscribers: Every month you'll receive a unique stamp set with an ink spot (that won't repeat a colour in a 12-month period). In addition, your first kit includes a free clear stamping block that you'll use every month.
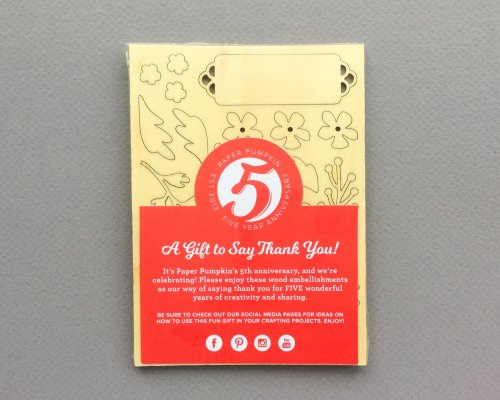
March is Paper Pumpkin's 5th anniversary! To mark the occasion, they've included these wood embellishments as a bonus gift.
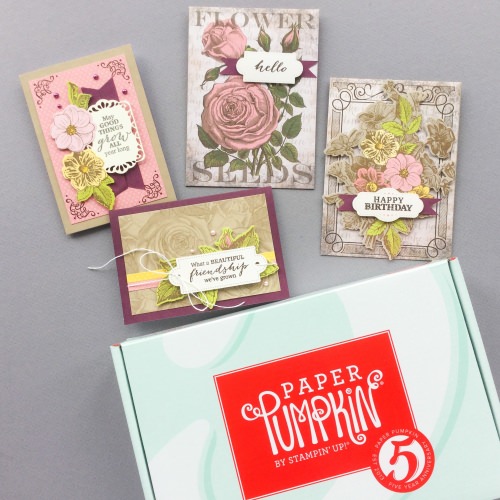
March's theme is "May Good Things Grow" and includes supplies for 8 cards and 8 envelopes. They include written instructions but you can also watch the video instructions HERE.

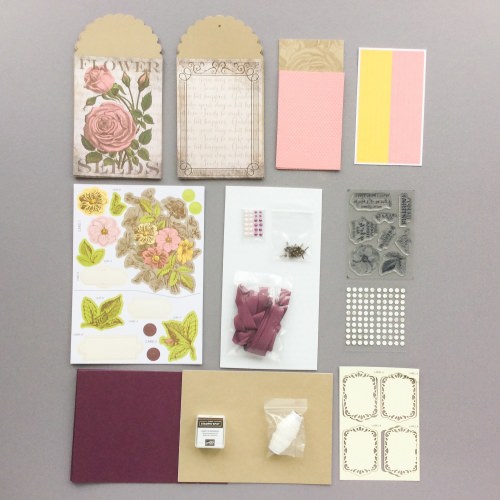
These are all the supplies. This kit features vintage floral blossoms, and seed packet inspired envelopes.
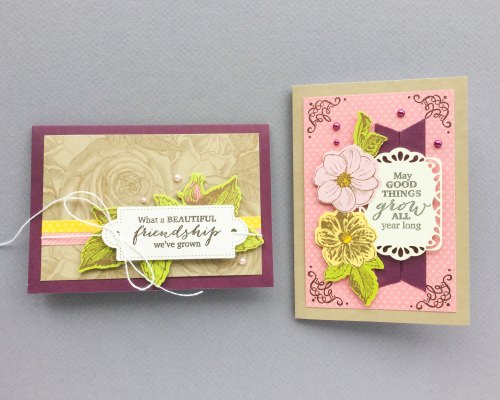
For the card on the left, I adhered the floral card panel, added two sticker strips, then the floral laser-cut pieces, the sentiment card was added next, and then I tied a white linen thread around the card and tied a bow. A few pink pearls finished off the card.
For the card on the right, I started by stamping the corners of the pink card piece and the sentiment on the laser-cut element sheet. Next, I cut the ribbon pieces and adhered them with adhesive glue dots. The laser-cut floral pieces were added next with dimensionals. Then I finished it off with a few purple pearls.
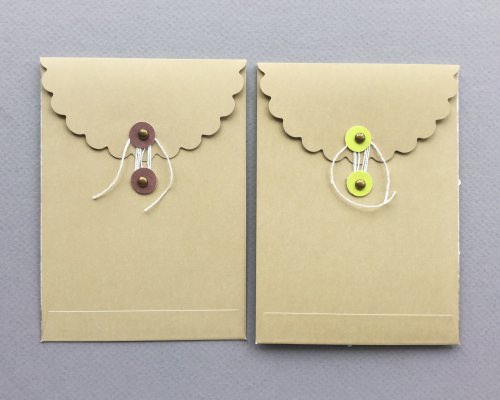
The envelopes didn't take as much time as the cards. The one on the left required only a piece of ribbon and the sentiment piece. The one on the right had a large laser-cut floral bouquet that I adhered with dimensionals, followed by the ribbon and sentiment piece.
On the back, I added the brass brads and wrapped white linen thread around the brads.
The vintage vibe of these cards and envelopes are so pretty! I love the way they turned out. The cards took longer to make than I expected but that was a good thing. I enjoyed creating the cards and the layers give them so much dimension and detail. If you're interested in Paper Pumpkin, be sure to sign up to receive 50% off your first two months!
What do you think of Paper Pumpkin?